Understanding Linux File Permissions and SUID for Privilege Escalation
Learn how Linux permissions work, what SUID really means, and why misconfigurations often lead to privilege escalation.
Linux file permissions are a double‑edged weapon. When used correctly, they provide a fundamental security layer; when misconfigured, they often become one of the earliest and most critical attack surfaces in Unix‑like systems.
In real‑world attacks, permission misconfigurations frequently serve as an initial foothold or a privilege‑escalation vector.
Every file or directory in Linux systems has three layers of permissions
User (u) | Group (g) | Others (o)
Each permission layer consist of three main permissions
Read (r) | Write (w) | Execute (x)
Below is a clarification for each permission and its effect for both files and directories
| Permission | Files | Directories |
| Read (r) | View files content | List files (names only) inside the directory |
| Write (w) | Modify files content | Create, delete, or rename files (directory entries) |
| Execute (x) | Run executable files | Enter the directory and access files by name |
Each Permission has Octal (Numeric Representation in Unix based Systems), Permissions are combined by summing their values:
Read (4) | Write (2) | Execute (1)
At first glance, this may seem purely theoretical or even boring. However, in the world of cybersecurity and offensive security, these concepts play a dangerous and powerful role.
Once you truly understand Linux permissions, an entirely new class of misconfigurations, privilege‑escalation paths, and exploit opportunities becomes visible.
Let’s put this to practice
ls -l /etc/passwd
You’ll get something like this
-rw-r--r--. 1 root root 3322 Dec 21 18:45 /etc/passwd
To read this correctly let’s divide the permissions into 5 parts [-][rw-][r—][r—][.]
| Segment | Value | Interpretation |
| 1 | - | This indicates entry type (- for files, d for directories) |
| 2 | rw- | Owner (u) Permission : Read and Write |
| 3 | r— | Group (g) Permissions : Read |
| 4 | r— | Others (o) Permissions : Read |
| 5 | . | This dot (.) indicates that SELinux security context is applied to this file |
Set and Manage Permissions
Understanding Linux permissions is not very useful unless you know how to change and manage them correctly. Linux provides a simple but powerful tool for this job: chmod (Change Mode)
chmod has two main ways to set or modify permissions :
Numeric (Octal) mode
Symbolic (Characters / abbreviations) mode
Set Permissions (Octal Mode)
Octal mode is the most direct way to set permissions and used widely and commonly in scripts and automation for its simplicity and directness, the general command format looks like the following example
chmod 755 script.sh
Each number represent the sum of permissions for a specific layer as follow
[User : 7] [Group : 5] [Others : 5]
Which can translate in other words
[User : 7 = Read, Write and Execute (4+2+1)]
[Group : 5 = Read and Execute (4+1)]
[Others : 5 = Read and Execute (4+1)]
Now let’s read and interpret some common octal permissions that is used widely
| Permission | Interpretation |
| 644 | Read and Write for owner and read only for anyone else |
| 755 | Common for executables and directories; writable only by the owner |
| 600 | Common for private files, Read and write for user (only) and no access for others |
| 777 | Full access for everyone, very dangerous |
Hacker Note : always keep an eye on 777 files and directory, they are gold mines
Set Permissions (Symbolic Mode)
Symbolic mode is more readable, precise and safer when you want to make small, controlled changes without affecting existing permissions.
General format for symbolic mode is the following
chmod [who][operation][permission]
Where [who] specify the layer (optional, default all a) :
u : User, g : Group, o : Others, a : all (u,g,o)
[operation] specify what you actually want to do :
+ : Give Permission, - : Remove/Revoke Permission, = : Set Exactly
[permission] is the actual symbolic representation for the permissions
r : Read, w : Write, x : Execute
Below are some common examples with explanation for a clearer image
Set a script as executable
chmod +x script.sh
# Give (+) Execute (x) permission to all (a : default in absence)
# Equivalent : chmod a+x script.sh
Remove write permission from others
chmod o-w my_directory
# Remove (-) Write (w) permissions from others (o)
Set Specific Permissions
chmod u=rwx,g=rx,o= my_file.sh
# For user (u) set (=) permissions as Read,Write and Execute (rwx)
# For group (g) set (=) permissions as Read and Execute (rx)
# For others (o) set (=) permissions as none
# Equivalent : chmod 750 my_file.sh
Set Permissions Recursively
Permissions can also be changed recursively using -R flag:
chmod -R 755 my_directory
recursively indicates setting permission to all files and sub-directories within the specified directory, and this should be used with much care and remember this
Many exploits and privilege escalations started with a careless
chmod
Verify Permissions
Always verify permissions after changing, don’t assume
ls -l my_file
Never assume, always check
Special Permission Bits: SUID, SGID, and the Sticky Bit
So far, Linux permissions have been mostly about who is allowed to do what. Special permission bits are where things start to bend those rules. SUID, SGID, and the Sticky Bit exist for good reasons, but they also introduce behavior that many admins don’t fully think through, and that’s exactly why they matter from a red team perspective.
When you land a low‑privileged shell on a box, these bits are usually among the first things you look for. A forgotten SUID binary, a shared directory with a loose SGID, or a writable location missing a sticky bit can quietly change the game and turn a normal user into something much more interesting. These aren’t flashy misconfigurations, they blend in, they look “normal”, and they often sit untouched for years.
Before getting into how they’re abused, it’s worth understanding what these bits actually do and why they exist, because a lot of real‑world privilege escalation paths start with nothing more than a small permission decision that seemed harmless at the time.
Special Permission Bits ! What is this ?
In Linux, permissions don’t stop at the usual read, write, and execute. There’s a layer on top called special permission bits, which slightly bend the normal rules and give files or directories extra behavior.
There are three special bits
SUID | SGID | Sticky
They were designed to solve practical problems in multi-user systems, but from a security perspective, they’re also tiny “windows” that can make a normal user more powerful if misconfigured.
SUID (Set User ID)
User perspective: When SUID is set on a binary, the program runs with the privileges of the file owner rather than the user who executed it. This exists for legitimate reasons. A classic example is passwd: normal users need to modify /etc/shadow, but giving everyone direct write access to that file would be a disaster. SUID solves this by allowing the binary to temporarily act with higher privileges while performing a very specific task.
Hacker perspective: From an attacker’s point of view, this is where things get interesting. If an executable is owned by root and has the SUID bit set, running it means the process executes as root. That alone doesn’t guarantee an exploit, but it immediately raises a flag. If I can influence how this binary behaves, abuse its input, environment, or logic, then I’m no longer executing code as a low‑privileged user — I’m executing code as root. One weak SUID binary is often all it takes to turn local access into full system compromise.
SGID (Set Group ID)
User perspective: When SGID is set on a file, the program runs with the privileges of the file’s group instead of the user’s primary group. When set on a directory, any new files created inside inherit the directory’s group automatically. This is commonly used in shared environments to make collaboration easier, ensuring multiple users can work on the same set of files without constantly fixing ownership or permissions.
Hacker perspective: From an attacker’s point of view, SGID is quieter than SUID but still worth attention. A binary running with elevated group privileges can open access to files or resources that aren’t normally available to the current user. SGID directories are even more interesting, especially when combined with weak write permissions. Group inheritance sounds harmless until you realize it can be abused to gain access to sensitive group‑owned files, manipulate shared resources, or pivot into other users’ workflows. It’s rarely the final step, but it often helps build one.
Sticky Bit
User perspective: The sticky bit is mostly used on directories and controls who is allowed to delete or rename files inside them. When set, only the file owner, directory owner, or root can remove files, even if the directory itself is world‑writable. The classic example is /tmp, where everyone needs write access, but no one should be able to delete other users’ files.
Hacker perspective: From a red team perspective, the sticky bit is about containment. When it’s present, it prevents easy abuse of shared writable directories. When it’s missing, things can get messy very quickly. World‑writable directories without the sticky bit allow attackers to delete, replace, or hijack files created by other users or processes. That opens the door to race conditions, symlink attacks, and all kinds of quiet privilege escalation tricks that don’t look suspicious until it’s too late.
Manage Special Bits
Granting and revoking special bits from files and directories works the as normal permissions with chmod (octal and symbolic modes)
| Special Bit | Symbolic | Octal |
| SUID | s | 4 |
| SGID | s | 2 |
| Sticky Bit | t | 1 |
You may notice that SUID and SGID are both referenced in symbolic mode by “s”, and this is not a typo, it is totally okay and there will be no conflicts since SUID is only set on User Permissions (u), while SGID is only set on Group Permissions (g).
Now let’s see few example on Special Bits Assignment using Symbolic Mode
chmod u+s myfile # Add SUID (s) to myfile
chmod u-s myfile # Remove SUID (s) from myfile

chmod g+s myfile # Add SGID (s) to myfile
chmod g-s myfile # Remove SGID (s) from myfile

chmod +t myfile # Add Sticky bit to myfile
chmod -t myfile # Remove Sticky bit from myfile
Notice we used Symbol “s” for both SUID and SGID, but when it’s add to User (u) then system knows it’s SUID and when added to Group (g), then it will be SGID
When it comes to Octal mode, we use same concept as normal permissions, we sum the values if bits we want to add as following
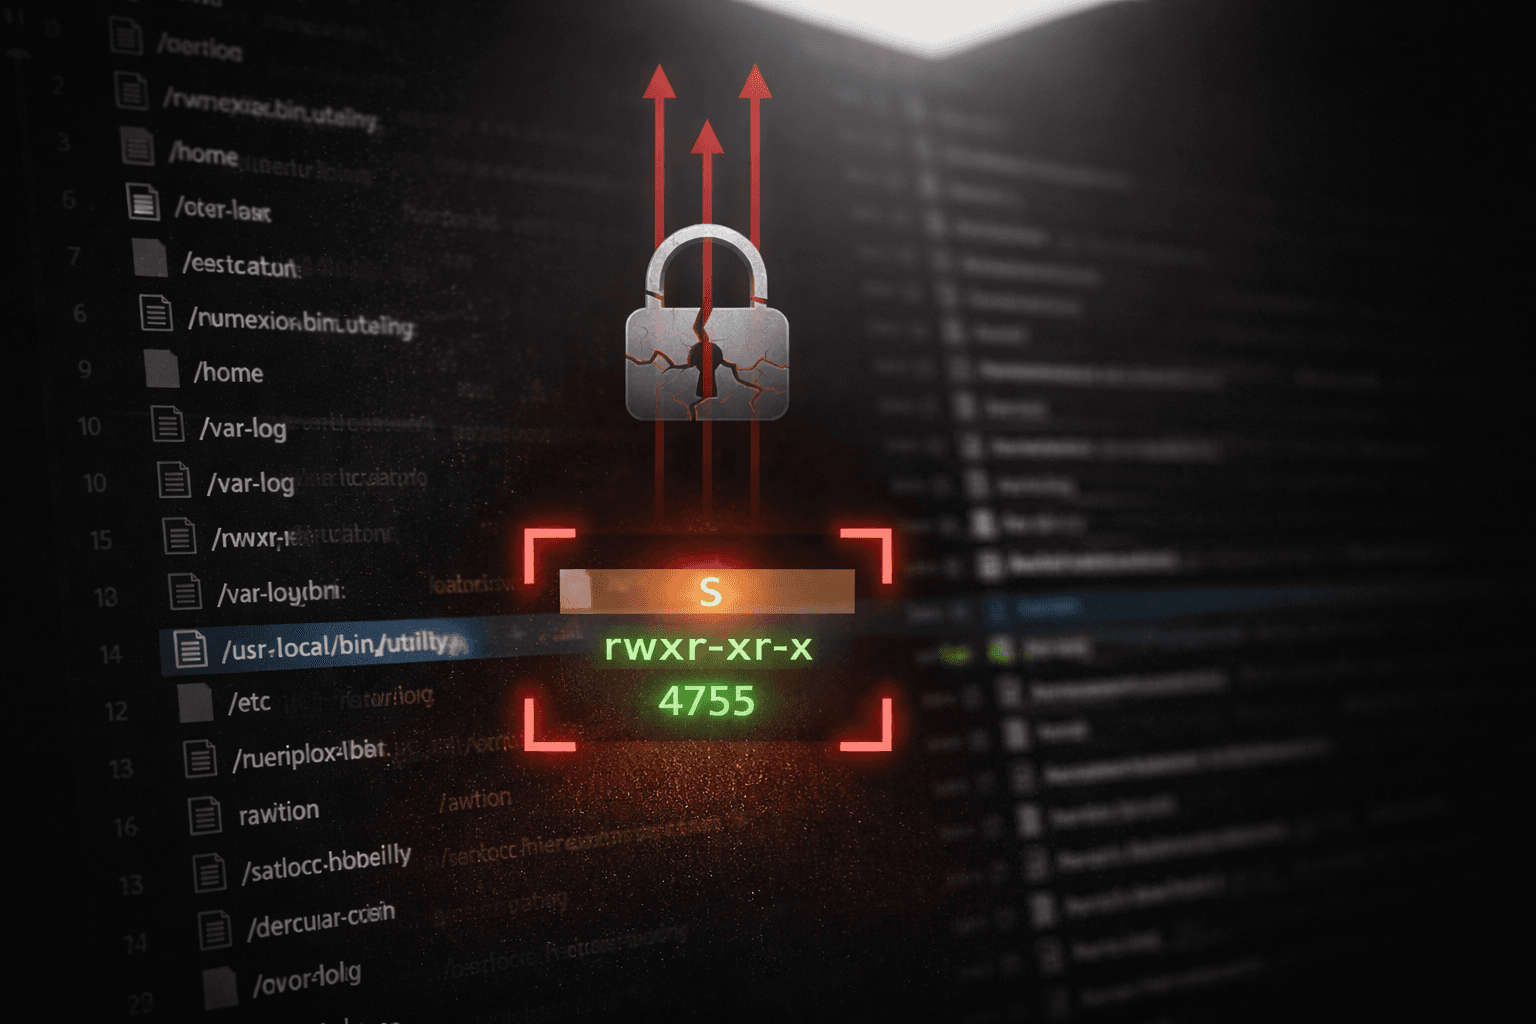
chmod 4755 myfile # Set Bits of myfile as SUID (4)
chmod 2755 myfile # Set Bits of myfile as SGID (2)
chmod 1755 myfile # Set Bits of myfile as Sticky (1)

chmod 6755 myfile # Set Bits of myfile as SUID + SGID (4+2)

chmod 0775 myfile # Remove all special bits from myfile
Note that now when we use 4 digits permissions system when having Special Bits with the following format
Special Bit | User Permissions | Group Permissions | Others Permissions
It also worth having a look on how a file with special bits will look like, if we ls a file with all special bits it should like like this
$ ls -l myfile
-rwsr-sr-t. 1 ptrveil ptrveil 0 Jan  1 23:33 myfile
Now you may notice that “x” is replaced with “s” within user permission which means this file has SUID (s in user = SUID), while “x” is replaced with s within group permissions (s in group = SGID), finally “x” in other replaced with “t” (t in other = Sticky). Below is a conclusion table for symbolic reference
| User (u) | Group (g) | Other (o) | |
| r | Read | Read | Read |
| w | Write | Write | Write |
| x | Execute | Execute | Execute |
| s | SUID | SGID | - |
| t | - | - | Sticky Bit |
Hacking Time: Hunting Special Bits for Privilege Escalation
At this point we understand how permissions and special bits works, so its time to stop thinking as system administrators and start thinking as attackers.
When you get on a low privileged shell during a penetration test of a red team engagement, your goal is simply get as powerful as possible and aiming for root access. Sometimes you don’t need zero-days, kernel exploits or even fancy payloads. If you are able to spot and hunt one mis-configured permission or a careless SUID, then it’s potentially this is your door to Privilege Escalation and maybe root.
Special bit are most often the first thing i hunt after initial access, they are easy to enumerate and also hard to notice for regular operations cause the are legit for the system and looks normal and they are frequently misconfigured on many targets.
Now let’s stop talking about theories and see how this work from an attacker side in a seamless workflow
Step.1 : Hunting SUID Files
This is usually your first step, because if you get something interesting … your objective complete
#Find all SUID files
find / -perm -4000 -type f 2>/dev/null
Now you’ll get all files with SUID special bit on it, and from an attacker perspective below is what you are looking for in the list you got :
Executables owned by root
Are they common executables or custom script
Are they accepting user input ?
Can you influence their PATH, arguments or environment
Step.1.1 : Influence and Identified SUID
Let’s say you found find executable with SUID bit, now it’s time to investigate more on this as following :
Is this a common executable : Yes
Is it accepting user inputs : Yes
Can you influence its Path, arguments or environment : Yes, somehow
find is a common executable in Linux that allows searching and finding files and it is accepting user input and arguments, one of those arguments is -exec , it is used for executing a command for each file you find, so it’s legit for the system and doesn’t raise much noise, so in other words : find can execute or run other executables and since find is owned by root and has SUID so it will run as a root and if we use find to execute another command it will accordingly run as root as well … so it may be the time influence this executable
find . -exec /bin/sh \; -quit
Now what this really means, and what do we expect form. First of all this is a legit and command command, and below what is means
find : find all files and directories
. : with in the current directory (where find starts)
-exec : and execute the following command for each finding
/bin/sh : the shell
sh(orbashif available)\; : ending the shell command
-quit : stop after first finding (we actually need just one finding for the shell to come up)
If everything runs well, then you are now expecting a shell with root user instantly, no more kernel exploiting or complex buffer overflow needed.
Note: In real world you don’t need to know all commands with arguments and parameters, you don’t really need to memorize it at all, resources are available to help. One of the best resources to find if you can exploit a SUID is GTFO-Bins, it helps you search for a common executable and see if it can be used for Privilege Escalation.
Step.2: Hunting SGID Files and Directories
SGID are quieter than SUID but it still so useful for lateral movement and escalation, so consider them as a tool to open a locked door, while SUID is an already open door.
Find SGID Files
find / -perm -2000 -type f 2>/dev/null
Find SGID Directories
find / -perm -2000 -type d 2>/dev/null
What do you expect from a SGID file or a directory
Access to a group restricted content
Ability to write files with a privileged group
Manipulation of shared or trusted resources
A first step to setup upcoming attacks (malicious crons, scripts or configurations using a trusted group)
Step.2: Enumerate world-writable directories
This is where attacks can be quite, nasty and dangerous. World-writable directories specially ones without Sticky-Bit can be very dangerous if you find your sneaky strategy to make use it
find / -perm -0002 -type d 2>/dev/null
In the above command we are looking for directories (d) in the root directory (/) where it has write permissions (2) in the others permissions.
If you find any, then you next enumeration is to check for Sticky-Bit flag (we are looking for no sticky-bit flag), let’s quote from what we said about sticky-bit for more clearance and to know why we are looking for no sticky-bit
When set, only the file owner, directory owner, or root can remove files
ls -ld /path/to/directory/you/found
# Check if you see "t" flag in permissions
# if not then you are very close now
If you find any without sticky-bit, then it will be potentially vulnerable to delete / replacing files, symlink attack, script hijacking or race condition abuse.
Final Thoughts: Small Bits, Big Impact
Linux permission bits are often treated as basic system knowledge, something that administrators learn once and never revisit. But as we’ve seen, SUID, SGID, sticky bits, and world-writable permissions are not just implementation details, they are decision points that directly affect system security.
From a red team perspective, privilege escalation is rarely about exploiting a complex vulnerability, it can be as simple as a careless chmod or chown ran by an administrator.
If you remember one thing from this guide, let it be this:
Every permission bit is a promise. When that promise is broken, escalation becomes inevitable.
Finally
Audit your permissions or someone else will.
Happy hunting.